
Designing any online learning material in 2020 requires being familiar and at ease with a number of presentation and delivery methods. Video content is among the most popular ways the modern adult learner chooses to acquire new information and as a result it’s compulsory to incorporate it in any e-learning course.
While it seems everyone, these days, can make (and post) shorter or longer videos with more or less success in getting the audience’s attention, you have to be focused both on making your content attractive and on conveying meaningful messages.
Read more: 9+1 Tips for making a video for your course
The videos that are part of an online course (whether they are tutorials, interviews, subject-matter experts presentations or inspirational bits) have to look and sound adept.
Considering the designer’s experience, budget and artistic inclinations, there are several available options.
Going with what is at hand
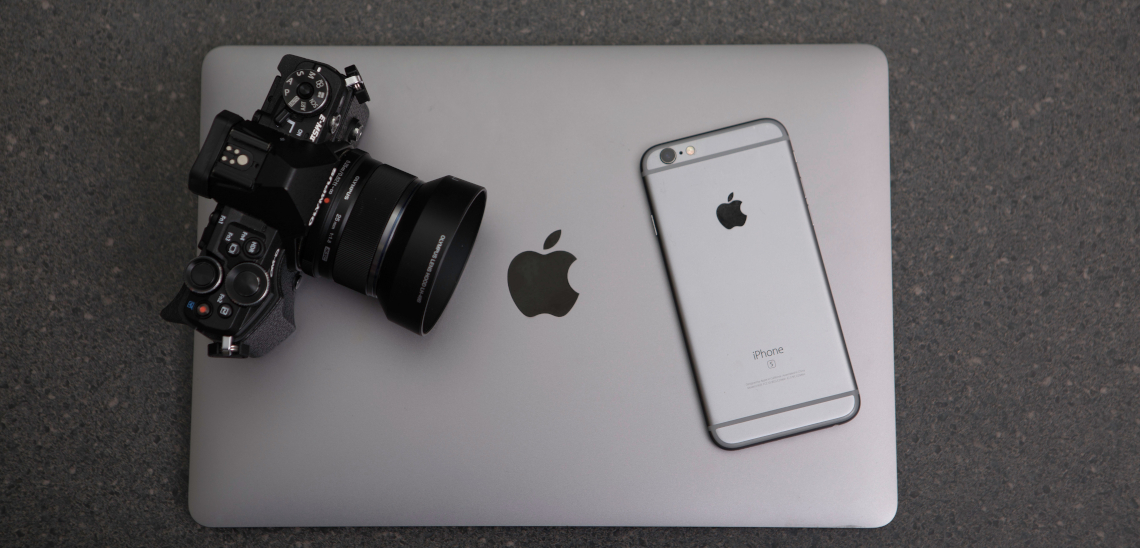
As I was writing this, I looked around. I have two smartphones and one tablet within two feet of my desk. All three devices have built-in filming capabilities and, need be, the laptop I am working on can also be used for such purposes. It’s a pretty safe bet that it would be the same situation with any course designer working on an online course.
The technology being already ‘at hand’, there is no need for further investment in equipment. The latest line of smartphones and tablets can even record 4K video. So if you are wondering about how to make your educational videos, check the capabilities on all your devices before taking out the credit card.
Provided that you are in possession of a rather good internet connection with a decent transfer rate, you’ll have no trouble getting the material from the device on which it was filmed to your desktop or laptop.
Once you get it here, however, you will have to spend some time figuring out the intricacies and capabilities of your editing application of choice. There are some great free ones available and they will help turn your raw film into top notch material.
Webcamming
The second rather cost-effective option for getting yourself or your guest speakers on tape is employing a webcam. A simple search on Amazon shows a great variety of such devices, some very good quality ones costing no more than 50$.
One of the perks is that since it connects via USB to your laptop or desktop, there is no need to look for transfer options, you end up with the material right on the front porch of your editing app.
It’s very easy to make eye contact with the audience and only have to worry about a small space as your background.
Sure, you must still make sure that the lighting is right – not too bright but not crepuscular either. Some computers have dedicated apps for adjusting things like exposure, white balance, contrast and brightness so look into that before you choose a webcam.
It’s also advisable to go for one that has good recording capabilities - I recommend built-in dual stereo microphones that automatically filter out the background noise.
Although not necessarily built for it, webcams can be easily moved around and placed on tripods or clipped on various surfaces, so it is quite versatile.
Going pro
If you feel that video will be a big part of your course and you will surely be needing the equipment in the future, it’s a safe bet to invest in a dedicated digital camera. A simple search will show you that there is a very large price gap between the most affordable and the most recent, sophisticated, top of the line jewel.
Read more: How to budget for your online course business
I’m not the one to judge if the latter is worth the cost of a healthy kidney on the black market but I think I can safely assume you don’t need that much technology for an online course. For one, your subscribers will be accessing from various devices and they should be able to play (and more importantly, playback) the content without hiccups.
My research suggests that somewhere between 250-300 $ you can end up with a really good point and shoot camera. As the name suggests, this type is easy to use all the while rendering a superior quality video.
For an even better image and capabilities, you can opt for a DSLR camera but of course, the cost will also be higher, and it is a bit more complicated to set it up and figure out how to work the lenses.
Wrapping up
As with anything, doing your homework is important. First figure out how much of your course (and future courses) will be in video format. Second, make an inventory of what you already have and could be used for filming. Third, consider your budget and if spending some of it on video equipment makes sense or not. The internet and consumer reviews will help you from there.
